PS4 HDMI Port Replacement
HDMI ports on the PLAYSTATION 4 (PS4) allow the game to be connected to monitors or TVs with a compatible HDMI connection. The PS4 display which uses HDMI port is usually crisp, clear and lightning fast. A single HDMI port comprises of 19 different wires combined into one and has the ability to carry 5 gigabits of data. Despite several advantages of this HDMI port, a major problem associated with PS4 console is a broken or worn HDMI port. When this happens, the PS4 console does not display anything or it produces an intermittent grainy display. There is therefore need for repair of the damaged PS4 HDMI Port or purchase of a new or used Play Station 4. A new or Used Play Station 4 is usually very expensive when compared to the cost of replacing the HDMI port. However, it is not an easy task.
Before attempting this, you should already have a lot of experience with computer or game console repair. It is also very important to unplug the PS4 console from electricity and all accessories before taking any action on replacing the PS4 HDMI port
Materials needed for HDMI Port Replacement
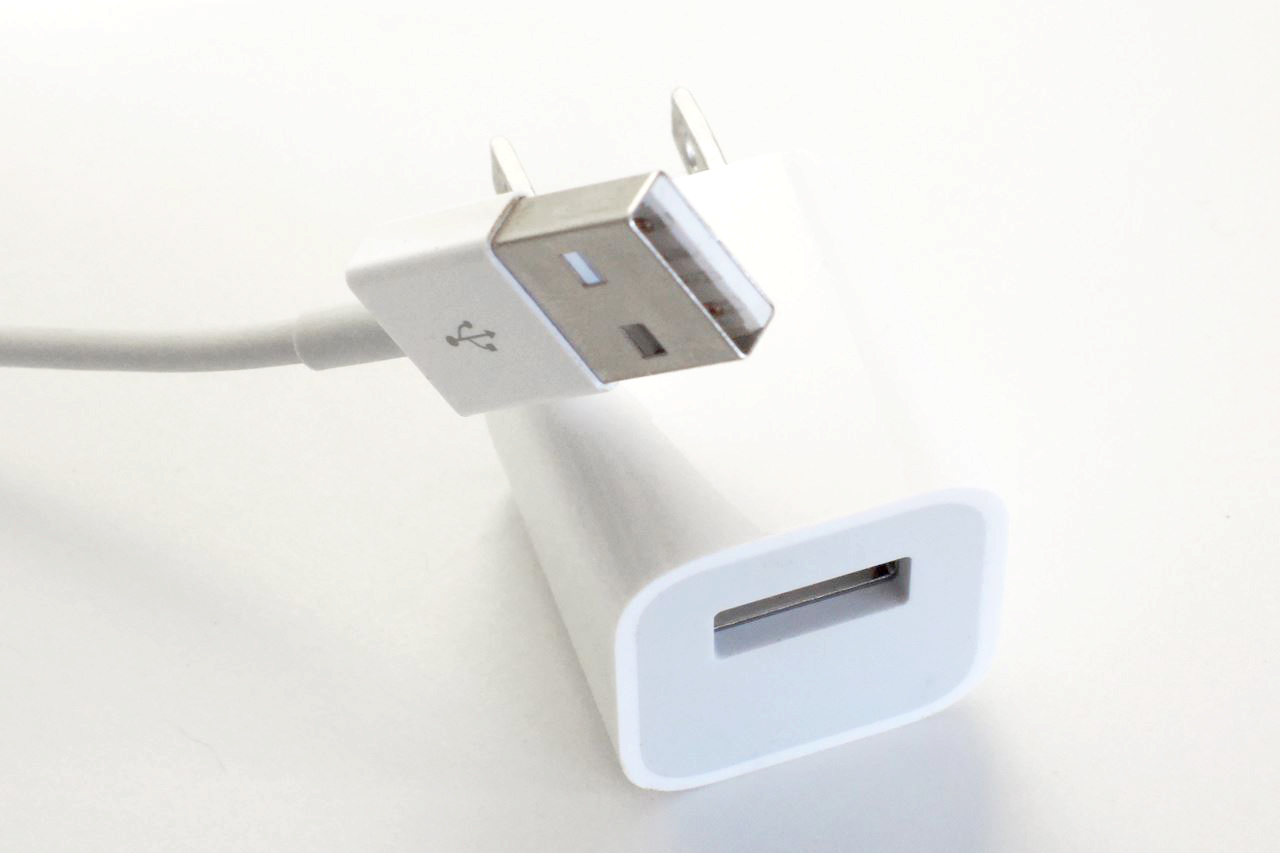
Materials needed for HDMI port replacement on a PlayStation 4 unit includes Phillips head #1 screwdriver, TR9 Security Screwdriver, Soldering Iron, Solder, Pliers, Arctic Silver Thermal Paste, Anti-Static Strap, Heat Gun, Flat head screwdriver, PS4 HDMI Port (new or used).
If used PS4 HDMI Port will be used, it is imperative to all attachment pins intact while removing it from the original motherboard.
Guidelines for HDMI Port Replacement on a PS4 Unit
- Unplug the case of the PlayStation 4 from the electrical outlet.
- Remove the 4 stickers and the 9mm TR9 Security Screws situated at the back of the case.
- Flip the Play Station 4 (PS4) upside down and lift the bottom cover from the back to remove it from the back of the console,
- Remove the 3 9mm TR9 Security Screws attach to the power supply.
- Also remove the 2 #1 Phillip Head screws.
- Disconnect the clip that connects the power supply to the mother board.
- Lift the power supply slowly from the case.
- Remove the ribbon wire that attaches the optical drive to the mother board by pressing down the metal tab while pulling on the ribbon wire.
- Press down the metal tab and pull the ribbon wire that connects the optical drive to the mother board
- Disconnect the Wi-Fi cord from the mother board.
- Unscrew the Security Screws and Phillips Head screws.
- Remove the Wi-Fi antenna and the optical drive.
- Turn the PS4 right side up, press the left top panel and lift it up to remove it.
- Remove the security screws, Phillips head screw, and the hard drive.
- Remove the top right panel cover and slide it backwards.
- Remove the other security screws, metal support bracket, and metal covering over the mother board.
- Detach the wire plug from the mother board and lift the mother board out.
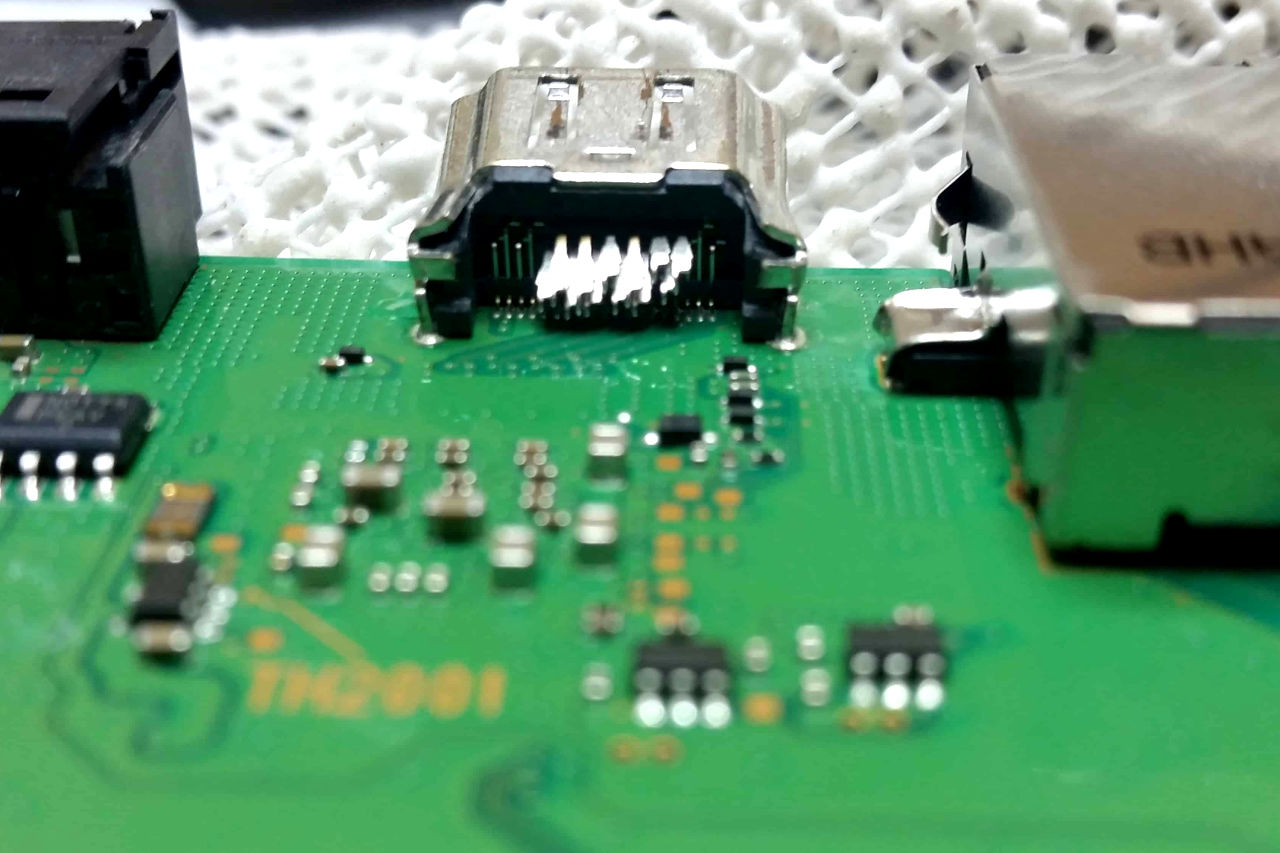
- Locate the damaged HDMI port, hold it with pliers, and heat the mother board section below the HDMI port. Melting of the solder allow the HDMI port to pull out.
- Place the new HDMI port into the holes in the mother board left by the old HDMI port.
- Heat the bottom of the mother board with the heat gun. Allow the solder to cool down.
- Remove the old thermal paste from the underside of the CPU and heat sinks. Apply a new thermal paste to the CPU and heat sinks.
- Replace the mother board and all parts and close the PlayStation 4 PS4 case.
- Plug the PlayStation 4 in and start playing!